The steps to purchase it are: We’ll cover exactly how to complete these steps below, focusing on Irina of Carim as our choice of merchant since she’s available sooner than Karla.
Step 1: Completing Yoel’s Quest
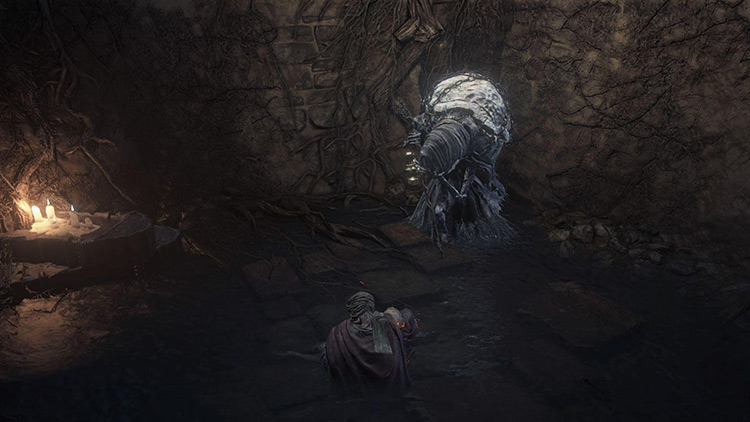
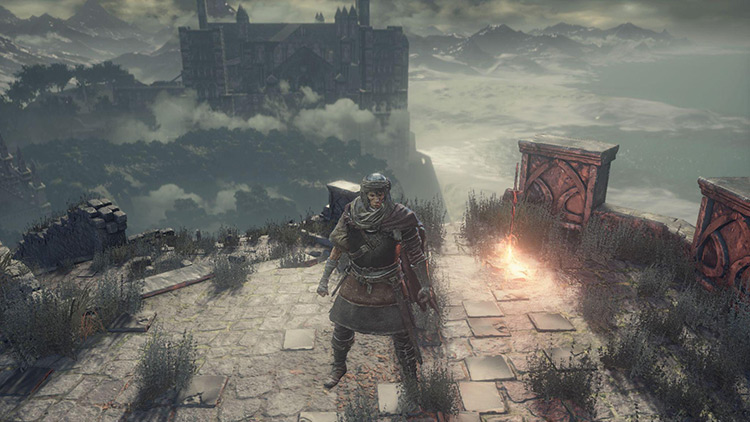
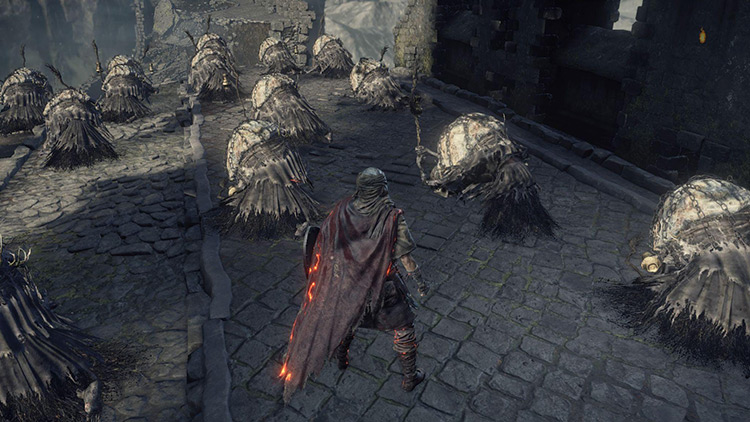
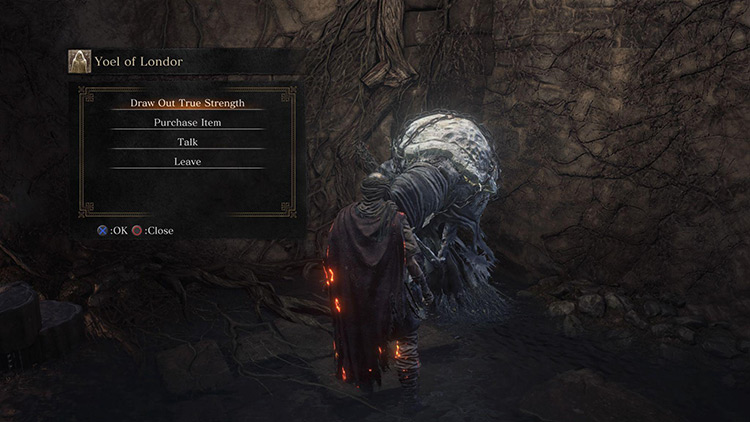
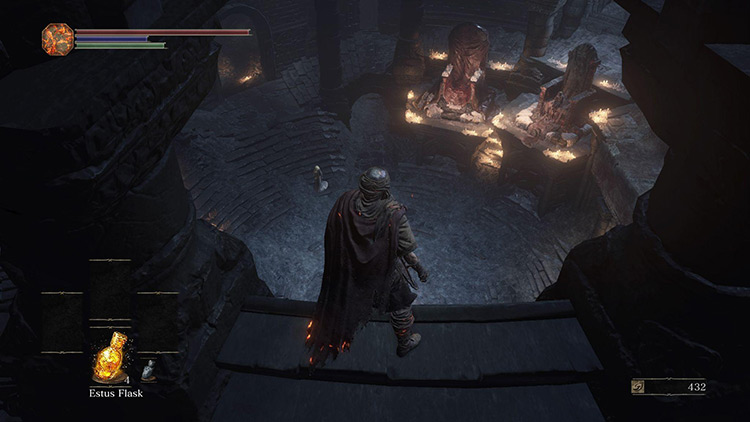
This step is highly missable, so be sure to finish it before you beat the Abyss Watchers to ensure that Yoel’s quest is completed in time. Before you can start progressing through Yoel’s quest, you’ll first have to get him to relocate to Firelink Shrine. Warp to the Foot of the High Wall Bonfire to get started. Walk down the large staircases in front of the Bonfire until you reach flat ground, then turn around and head down the main path, walking away from the metal gate. At the end of this path you’ll find a huge group of Pilgrims, most of whom are dead. Yoel of Londor is among them, towards the right wall of the path. Talk to him once the prompt appears. Choose to ‘Accept his service’ when he offers, and he’ll vanish once he’s done speaking, reappearing in a hallway of Firelink Shrine. Back in Firelink Shrine, walk down the tunnel in front of the Bonfire, then roll off of the left side of the walkway that leads to Andre. Walk to the very end of this room, then turn left and head down the narrow corridor to find Yoel waiting at its end. Talk to him and choose to ‘Draw Out True Strength’ to gain a free level-up. You’ll now have to go away and start deliberately dying to continue Yoel’s quest. I recommend jumping off of the staircases of Firelink Shrine to make this quick. Once you’ve died twice, head back to Yoel and choose to ‘Draw Out True Strength’ again to gain another free level-up. Repeat this process until you’ve gained 5 free level-ups from Yoel, then warp away from Firelink Shrine to reset the area. Warp back to the Shrine and head over to Yoel to find him dead on the ground, his questline now completed.
Step 2: Buying the Londor Braille Divine Tome
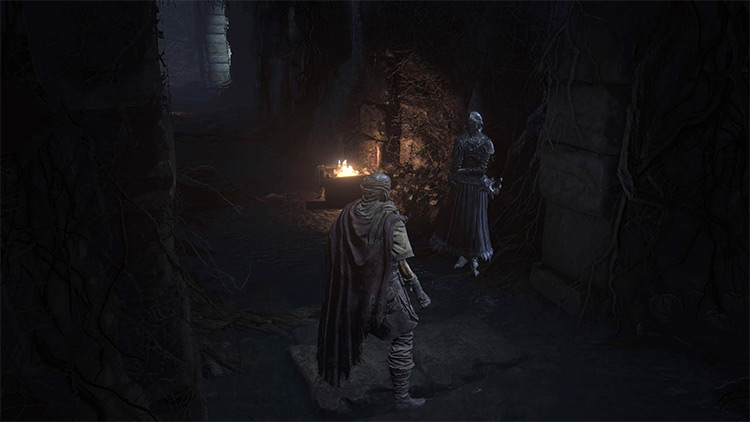
Once Yoel is dead, you’ll find Yuria of Londor next to his corpse. Talk to her and choose to purchase the Londor Braille Divine tome from her for 50 Souls. The Tome will come in handy later, once you’ve freed Irina of Carim from imprisonment.
Step 3: Freeing Irina of Carim
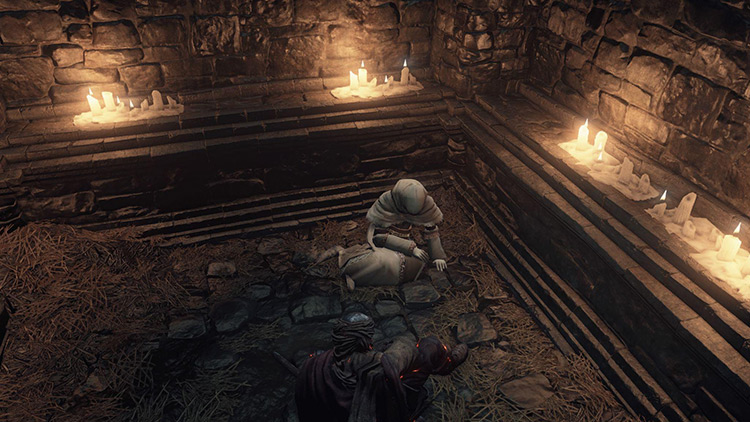
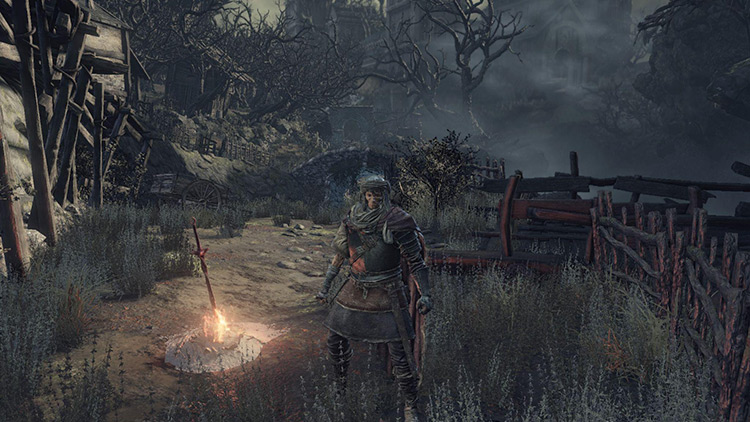
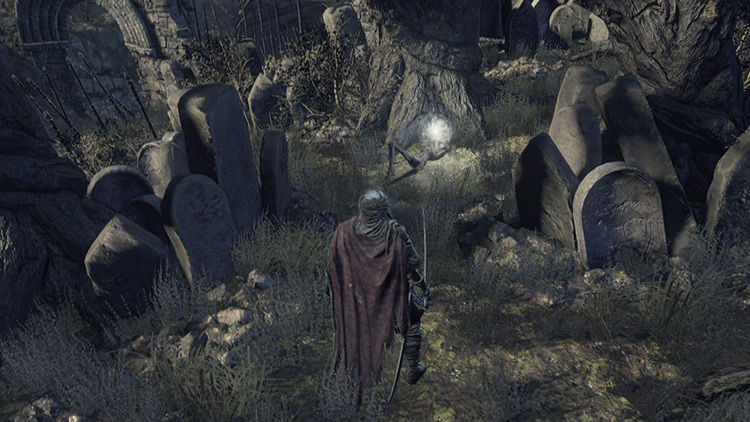
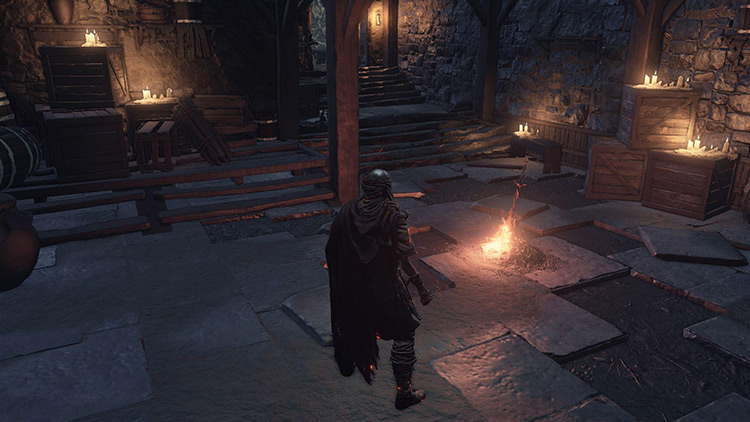
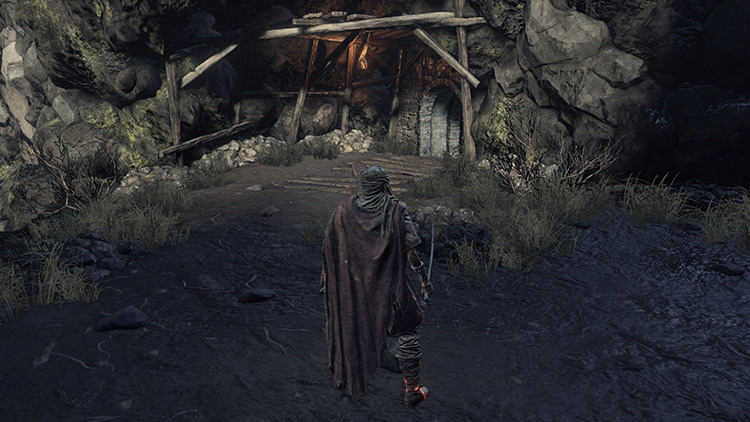
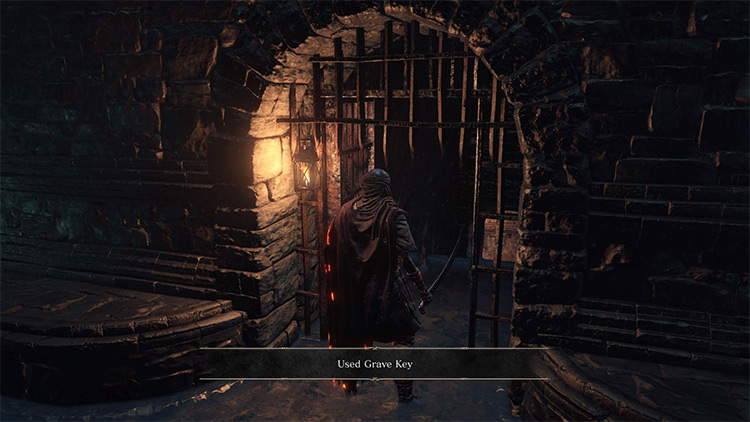
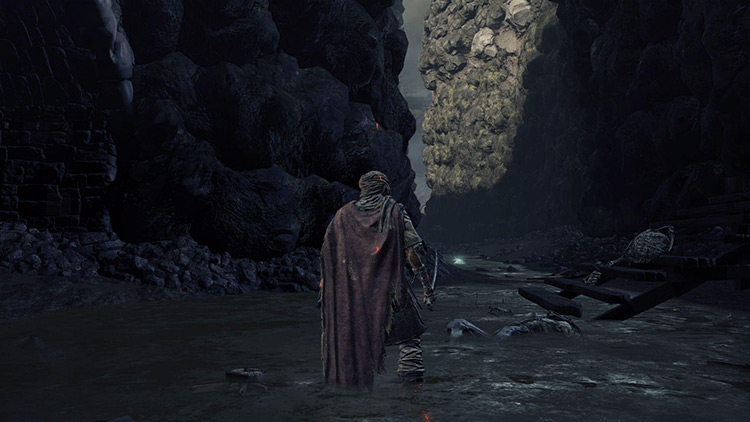
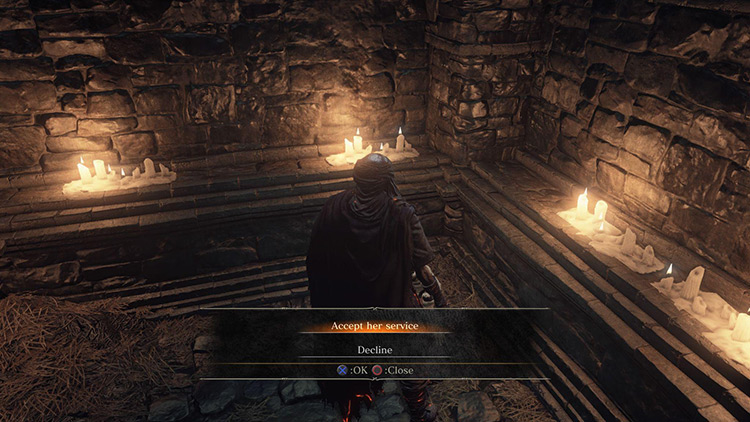
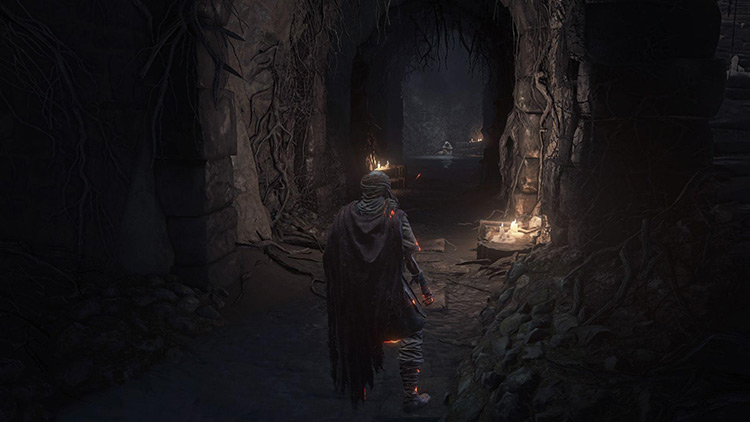
Irina of Carim is a merchant imprisoned in a cell in the Undead Settlement. You’ll need the Grave Key to get her out, a purchasable item that you’ll need the Mortician’s ashes to unlock. You’ll find the Mortician’s Ashes in the cemetery in front of the Dilapidated Bridge Bonfire. Head forward from the Bonfire and through the archway at the end of the path to enter the cemetery, and watch out for the giant crossbow bolts that will soon start raining from the sky. Run straight through the graveyard until you reach the white tree surrounded by items, then turn left and head up the hill. The path splits multiple times from here, but stick to the left-most path at all times and you’ll eventually find the Mortician’s Ashes on a corpse next to a tree. Warp back to Firelink Shrine and speak to the Handmaiden. Choose to ‘Give umbral ash’, then give her the Mortician’s Ashes. This will unlock the Grave Key in her shop, making it purchasable for 1500 souls. So buy the Grave Key and warp to the Cliff Underside Bonfire, the closest spawn point to Irina. Head out of the small door behind the Bonfire, then turn right and head up the stairs. Now roll off this rooftop, then walk downhill until you reach the large pathway below. Turn around and follow this pathway until you see a side path that leads into the cliff face to your right, then head inside to escape the horde of enemies chasing you. Once inside the sewers, drop down into the water below and follow the canal down, taking out rats as you go. You’ll see a metal gate on your left just before you reach the fog. Interact with it to use the Grave Key and unlock it. Follow this corridor down and turn left at its end, then navigate through the linear string of rooms up ahead. After a short bit of running you’ll find yourself back outside again, in the ravine below the Cliff Underside Bonfire. Walk under the tunnel and continue forward until you see a door to your left that leads back into the sewer. Then head back inside and rush to climb the ladder at the far corner of the room to avoid the massive enemy ambush. At the top of the ladder you’ll find Irina of Carim to your left, sitting in her cell. Speak to her, and choose to ‘Touch’ to let her know she’s not alone. Talk to her some more, then choose to ‘Accept her service’ to send her back to Firelink Shrine and unlock her shop. Once she’s vanished, open the door on the other side of the room and head back to Firelink Shrine.
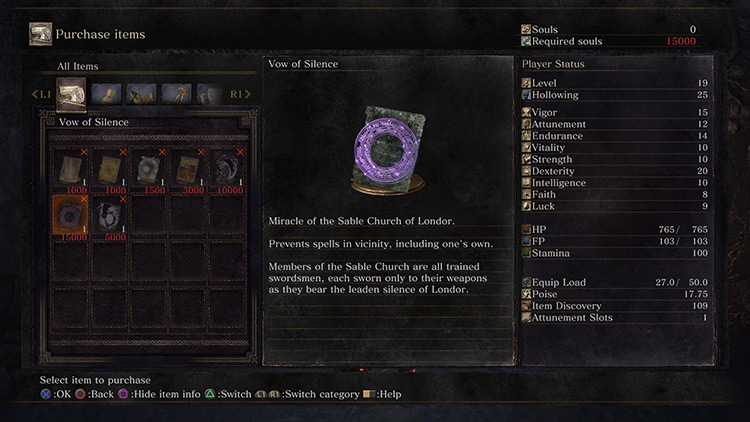
Step 4: Buying Vow of Silence
Now that Irina is in Firelink Shrine, you can finally give her the Londor Braille Divine Tome and buy Vow of Silence. From the Bonfire, head down the main tunnel and roll off of the right side of the walkway. Walk to the end of the room and turn right to see Irina sitting at the end of a corridor. Talk to her and choose to give her the Londor Braille Divine Tome to unlock Vow of Silence in her shop. Finally, open up her ‘Learn Miracles’ menu to buy Vow of Silence for 15000 souls.